Your first listing, step by step
Short answer
Work in order: paperwork and disclosures, property facts verified, prep list to the seller, photos, description, single-property page, then go live with the full gallery and video on day one. The most common first-listing mistake is publishing before the photos and copy are actually ready.
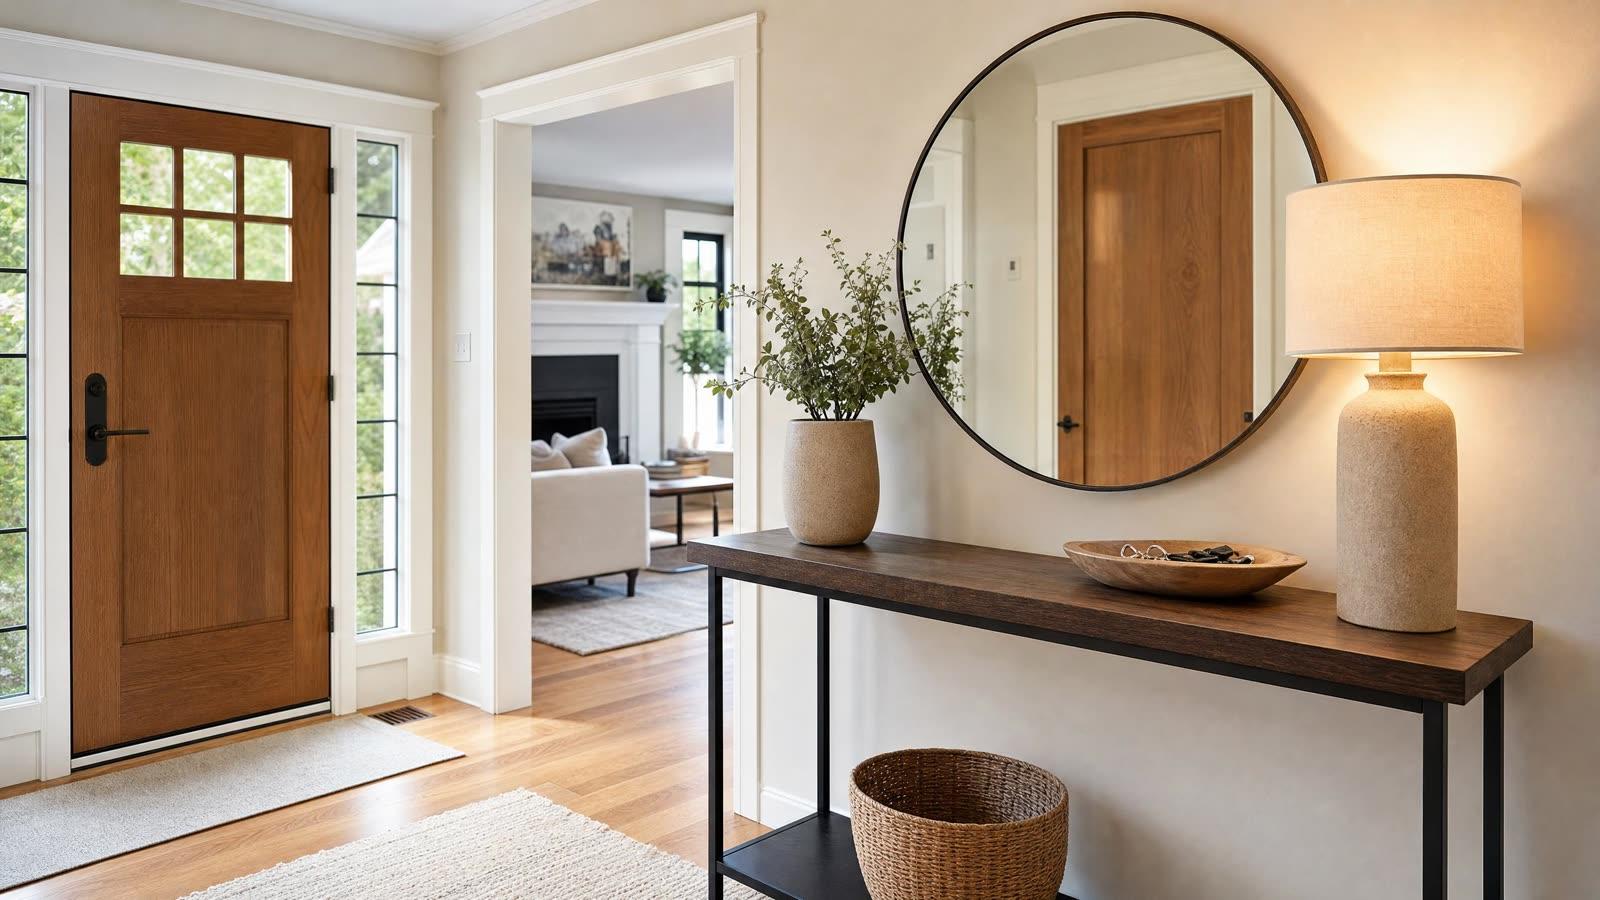
The first listing is mostly a sequencing problem. Everything on this list is obvious individually, and doing it in the wrong order is what produces a listing that goes live with six photos and gets fixed on day three — by which point the launch window is gone.
Before anything else
- Listing agreement signed, with commission and term clear
- Seller disclosures started early — they take longer than expected
- Verify the property facts yourself: square footage, lot size, year built, taxes, beds and baths
- Confirm access, lockbox, alarm codes, and pet arrangements
- Ask about the seller’s timeline and any privacy restrictions
Verifying the facts is the step new agents skip. Portal data and the previous listing are both frequently wrong, and a square footage error becomes your problem, not theirs.
One week out
Send the prep list to the seller with a specific date attached. Book the photographer, or block the time to shoot it yourself. Walk the property and note the rooms that will be hard to photograph, so the prep can address them before the day rather than after.
Photo day
Arrive early. Walk the whole house doing a final pass — lights on, blinds open, fans off, bins gone, cars moved. Shoot or supervise in walkthrough order. Get a walkthrough video the same day, because a second visit rarely happens.
Before you publish
| Item | Done means |
|---|---|
| Gallery | 25–35 photos, ordered as a walkthrough, lead image is the best exterior |
| Video | Uploaded and playing, plus a vertical cut for social |
| Description | 150–250 words, specific, fair-housing safe |
| Property page | Live on its own link, with a working contact form |
| Disclosures | Complete and attached |
| Showing instructions | Set, tested, and correct |
Launch day
Go live complete. Portals distribute a new listing hardest in the first days, and a listing that appears with three photos and gets filled in later spends that window at a disadvantage it does not recover. Publish everything at once, then post to social, email your list, and message every buyer agent with a matching client.
The first week
Track views, saves, and showing requests, and report them to the seller before they ask. Weekly proactive updates are the single biggest driver of whether a seller feels well represented, and they cost ten minutes.
Common questions
How long does it take to get a listing live?
Realistically five to ten days from signing: prep, photos, editing, copy, and page build. Rushing it to two days almost always means publishing an incomplete gallery, which wastes the launch window.
What do new agents most often get wrong on a first listing?
Publishing before it is ready, and not verifying the property facts independently. Both are avoidable, and both are visible to the seller.
How often should I update the seller?
Weekly, proactively, with actual numbers — views, saves, showings, feedback. Sellers who have to ask for updates are the ones who complain about communication, regardless of how the listing performs.
PropWalk covers the photo work between the shoot and going live — light, clutter, staging, and a walkthrough video from the same photos.
Get the listing ready free →Found this useful? Get more PropWalk guides in your Google results.