The kitchen photo checklist buyers actually notice
Short answer
Clear every appliance, magnet, sponge, and mat, then put back exactly one deliberate object so the kitchen reads as used rather than unused. Shoot a wide from the corner or doorway showing the cabinet run and island together, at chest height and level, then a second angle from the opposite side.
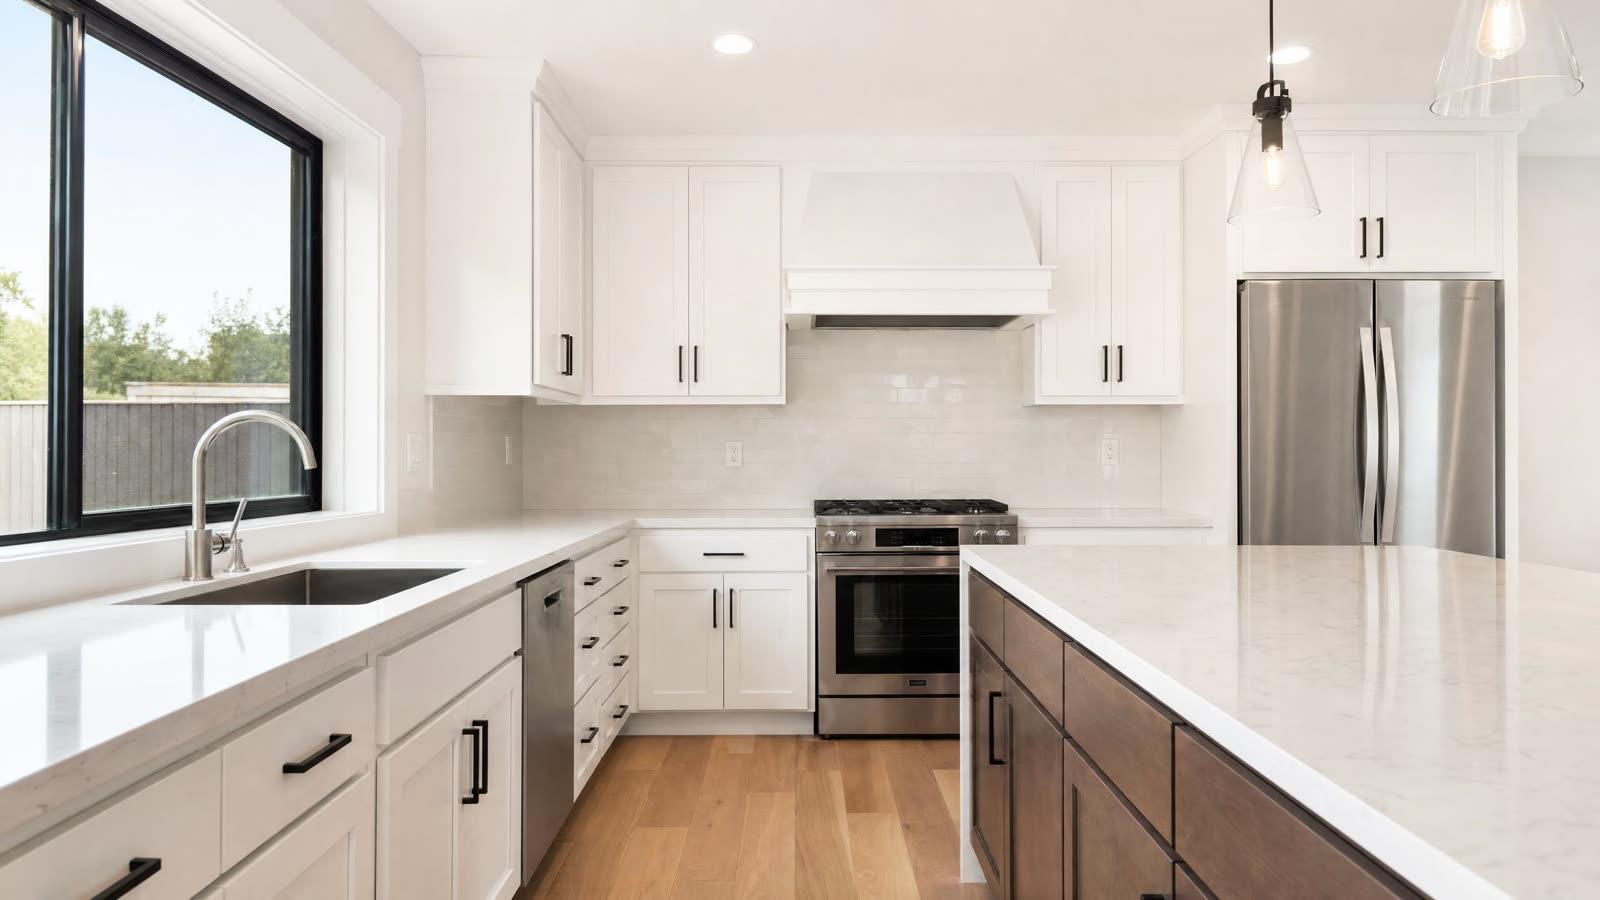
The kitchen is the room buyers study longest and the room hardest to photograph, because it is the room with the most stuff in it. Everything on a counter shows up. Get the clear-out right and the angles almost take care of themselves.
Clear it completely, then put back one thing
- Every appliance off the counter — toaster, kettle, coffee maker, knife block
- Nothing on the fridge: no magnets, photos, schedules, or notes
- Sink empty and dry, dish rack away, sponge and soap out of sight
- Bin moved out of frame entirely
- Rugs and floor mats up — they date a kitchen faster than the cabinets do
- Bar stools pushed in and evenly spaced
- Then add back exactly one item: a bowl of lemons, a small plant, a folded towel
That last step matters. A completely bare kitchen looks unused; one deliberate object makes it read as a kitchen someone cooks in. One, not three.
The two angles
Shoot the wide from the corner or doorway that shows the run of cabinets and the island in the same frame, at chest height, camera level. Then shoot a second angle from roughly the opposite side so a buyer can mentally assemble the room. Two well-chosen frames beat five near-identical ones.
Add a detail shot only if the finishes deserve it
If the counters are stone, the range is a name buyers recognise, or the backsplash is genuinely nice, a tight third shot pays for itself. If the kitchen is builder-grade, skip it — a close-up of laminate is a close-up of laminate.
The details buyers zoom in on
Fingerprints on stainless, a crooked cabinet handle, a cord dangling from under an upper cabinet, a dirty stovetop. Wipe every metal surface immediately before shooting, and walk the frame with your eyes before you press the button. Buyers zoom, and a smeared fridge door tells them how the rest of the house has been kept.
Lighting
Turn on the under-cabinet lights and the overheads, and leave the range hood light on. Kitchens usually mix warm bulbs with cool daylight from a window, which is why kitchen photos so often come out orange on one side and blue on the other. If that happens, the colour can be evened out afterwards without re-shooting.
Common questions
Should the kitchen be completely empty in listing photos?
Completely bare reads as unused and slightly clinical. Clear everything, then add back one item — a bowl of fruit, a small plant, a folded towel. One, not three.
Why do kitchen photos come out orange on one side and blue on the other?
Kitchens usually mix warm bulbs with cool daylight from a window, and the camera can only pick one white balance. The result is a split colour cast. It is corrected after the shoot rather than during it.
Is a close-up detail shot of the kitchen worth including?
Only if the finishes justify it — stone counters, a recognised range, genuinely good tile. A close-up of builder-grade laminate draws attention to the thing you would rather buyers skim past.
Missed the toaster, the bin, or the magnets on the fridge? Circle them and PropWalk takes them out, counter and cabinets untouched.
Clear a kitchen free →Found this useful? Get more PropWalk guides in your Google results.